
How to Implement Table QR Ordering to Handle Peak Hours
A step-by-step guide to deploying table QR ordering for cafes, boba shops, and small restaurants to accelerate service and optimize staffing costs.
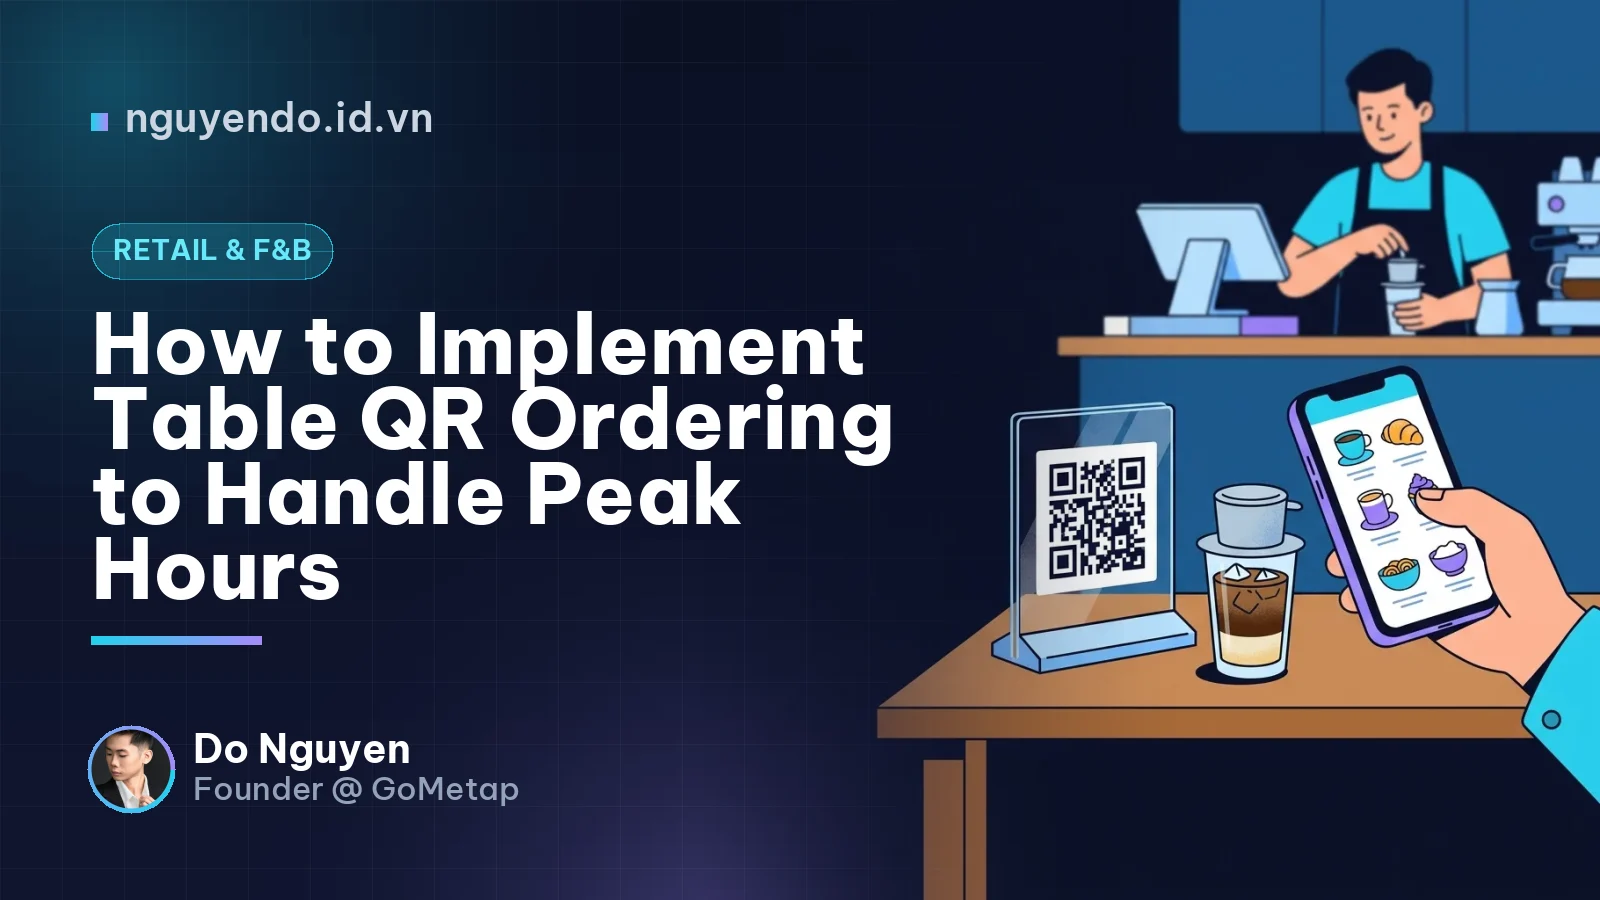
Table of contents
- What Is Table QR Ordering and How Does It Work?
- When Should Small Venues Implement Table QR Ordering?
- 5 Steps to Deploy Table QR Ordering for Small Venues
- Step 1: Choose Your Payment Flow (Pre-pay vs. Post-pay)
- Step 2: Optimize the Mobile E-Menu Interface
- Step 3: Design and Place Table QR Codes That Encourage Scanning
- Step 4: Configure Safeguards Against False Orders and Table Mix-ups
- Step 5: Train Staff to Guide Guest Interactions
- 3 Common Mistakes That Frustrate QR Order Users
- 1-Day QR Order Implementation Checklist for Owners
Table QR ordering is a solution that allows customers to scan a QR code with their phone camera to view the menu, place orders, and pay without waiting for a server. Implemented correctly, this model helps cafes, boba shops, and small restaurants relieve peak-hour pressure, eliminate order-taking mistakes, and optimize front-of-house labor costs.
Running a small venue makes rush hours—such as 8:00–9:00 AM for coffee shops or 11:30 AM–1:00 PM for diners—a constant operational headache. Hiring extra staff just to cover a two-hour rush eats into margins; keeping staffing lean leaves customers waiting, leading to poor experiences and lost revenue. This article walks you through practical, actionable steps to roll out a self-ordering QR system at your tables.
What Is Table QR Ordering and How Does It Work?
Table QR Ordering is a digital ordering method where each table features a unique identifier QR code that connects directly from the customer's mobile browser to the venue's point-of-sale (POS) system.
The standard flow runs through four automated steps:
- The customer scans the code: Seated at the table, the customer scans the table's QR code using their phone camera or messaging app (no app download required).
- Items are selected on the E-menu: The digital menu interface opens, allowing the customer to select items, customize notes (less ice, 50% sugar, no onions, etc.), and confirm the order.
- The order routes to POS and Kitchen/Bar: The ticket instantly appears on the cashier screen for confirmation (or auto-approval) and prints tickets at the kitchen or prep bar with the exact table number.
- Payment and service: Staff simply deliver items to the designated table number without spending time hovering while customers browse the menu.
When Should Small Venues Implement Table QR Ordering?
Not every concept needs to apply this rigidly. You should consider launching this solution if your venue shows two or more of the following signs:
- Multi-story or fragmented layout: Staff burn significant time walking up and down stairs just to hand out menus, take orders, and walk back down to enter them into the POS.
- Menus with complex modifiers: Especially boba tea, spicy noodle, or street snack shops where every item includes dozens of toppings, sweetness levels, ice amounts, or spice tiers.
- High walk-away rates during rush hours: Cashier lines choke because one or two indecisive parties hold up the queue, frustrating customers waiting behind them.
- Difficulty hiring split-shift part-timers: You want to run a 15–20 table floor with just one barista/cook and one runner handling the counter.
To visualize the operational differences, review the comparison below:
| Operational Metric | Traditional Ordering (Staff taking orders) | Table QR Ordering |
|---|---|---|
| Time from seating to kitchen receipt | 5–10 minutes (waiting for menus, browsing, walking back to enter into POS). | 1–2 minutes (customers scan and submit orders immediately). |
| Errors in custom requests (less sweet, extra toppings) | Prone to slips or missed notes in noisy, crowded environments. | 100% accurate because the customer selects them directly on screen. |
| Handling sold-out items mid-shift | Staff frequently forget to notify diners, forcing awkward apologies and substitutions. | The cashier toggles the item off in the POS; customers immediately see "Sold Out." |
| Cost to reprint menus for price/item updates | Expensive design and print runs for all physical menu books. | Free; prices and media update across the system in 30 seconds. |
5 Steps to Deploy Table QR Ordering for Small Venues
Step 1: Choose Your Payment Flow (Pre-pay vs. Post-pay)
Before printing table QR stickers, the single most critical decision is determining when customers pay. Two primary flows exist:
- Pre-pay (Order -> Mobile Online Payment -> Kitchen Prepares): Ideal for co-working cafes, multi-level boba shops, and food courts. This completely eliminates fake orders (browsers tapping without intent) and prevents walkouts without paying.
- Post-pay (Order -> Approve -> Serve -> Re-order -> Settle Bill at the End): Ideal for casual dining, pubs, hot pot, and BBQ concepts where diners linger and re-order drinks and dishes throughout the meal.
Real-world scenario: A dual-concept study cafe spans two floors with 20 tables total. Floor 2 has no dedicated staff. The owner implements a pre-paid QR ordering flow with dynamic QR payments. When a customer sits at Table 12 on the second floor, they scan the code, pick an iced milk coffee for $3.50, and the screen renders a dynamic payment QR code with the exact total. Once the payment clears, the system auto-reconciles, and the prep station printer on Floor 1 prints a cup sticker marked "Table 12 - Paid." Staff simply assemble the drink and deliver it upstairs.
Step 2: Optimize the Mobile E-Menu Interface
Customers browse menus on narrow vertical viewports (roughly 6 inches), not expansive A3 paper menus. Your POS catalog design should follow four principles:
- Concise category grouping: Place top-selling categories at the top (e.g., "Must-Try New Items", "Best Sellers", followed by "Coffee", "Fruit Teas").
- Crisp, authentic, consistent photography: Items with high-quality images consistently outperform text-only items. Capture well-lit, square (1:1 aspect ratio) photos for at least your top 10 core items.
- Mandatory modifier requirements: For beverages, require customers to select sweetness (100%, 70%, 50%) and ice levels (Regular, Less Ice, No Ice) before adding items to the cart. This ensures prep accuracy without back-and-forth clarification.
- Automated upsell suggestions: Configure the flow so selecting "Black Milk Tea" triggers an automatic modal: "Add Toppings (+$0.50): Brown Sugar Pearls, Coconut Jelly, Cheese Foam."
Step 3: Design and Place Table QR Codes That Encourage Scanning
Avoid printing flimsy black-and-white printouts taped to table surfaces; they degrade quickly from spills and look unprofessional.
- Materials: Opt for acrylic A-frame or T-frame table tents, or scratch-resistant, waterproof PVC decals fixed to table corners.
- Display content: Beyond a crisp, large QR code, include: Brand Name + High-contrast Table Number (e.g., TABLE 05) + 3 concise steps (1. Open camera to scan code -> 2. Pick your favorites -> 3. Relax while we bring your order).
- Leverage post-order engagement: Modern O2O platforms like GoMetap allow you to integrate one-tap digital loyalty card passes into Apple Wallet or Google Wallet directly on the confirmation screen. This transforms a basic ordering interaction into both an automated sale and an ongoing customer retention channel.
Step 4: Configure Safeguards Against False Orders and Table Mix-ups
For operators using post-pay flows, the biggest concern is bad actors taking photos of QR codes to send dummy orders from offsite, or guests sitting at Table 3 accidentally scanning Table 4's standee.
Mitigate these risks using standard POS settings:
- Enable GPS geofencing: Only allow order submissions from mobile devices located within a defined radius of your venue (e.g., 50–100 meters).
- Session-based dynamic QR codes or venue Wi-Fi gates: For higher-volume venues, generate table QR codes dynamically from the POS when seating guests; once the check settles, the token invalidates automatically.
- Manual POS confirmation step (for post-pay): When an order is submitted, the POS chimes at the counter. The cashier glances over to verify the table is occupied and taps "Accept" (single-touch) to release print jobs to the kitchen.
Step 5: Train Staff to Guide Guest Interactions
Even the best technology fails if staff don't actively onboard guests. Instead of standing passively waiting for menu requests, coach floor staff to greet seated diners with a clear prompt:
- "Welcome! You can view our full menu and photos by scanning the QR code on your table. You can customize sweetness and ice levels right on your phone, and your order will go straight to our prep bar!"
- Keep 2–3 physical menus on hand: Don't abandon print completely. When hosting elderly guests, tech-averse diners, or customers with dead batteries, staff should immediately present a physical menu and take the order manually to maintain hospitality standards.
3 Common Mistakes That Frustrate QR Order Users
- Requiring app downloads or tedious account sign-ups: Thirsty or hungry guests will bounce if forced to install a native app or enter phone numbers for SMS OTP verification just to view items. Ordering must be fully web-based and load instantly in-browser.
- Weak Wi-Fi or complicated network credentials: In basements or cellular dead zones, spotty mobile connectivity paralyzes the ordering pipeline. Clearly display your Wi-Fi credentials (or a Wi-Fi auto-connect QR code) right beside the ordering code.
- Defaulting to full automation while dropping customer care: Even when diners order digitally, staff must still provide table water, smile when delivering dishes, and check in on their dining experience. QR ordering aims to strip out mechanical transit time, not genuine hospitality.
1-Day QR Order Implementation Checklist for Owners
Audit your setup using this checklist to roll out table ordering by the weekend:
- Audit the floor layout: Assign clear numbering across all venue tables (segmented by zone or floor: F1-01, F1-02, F2-01...).
- Standardize POS E-menu catalog: Refine item titles for clarity, upload photos for at least your top 10 sellers, and configure all modifier groups (sugar/ice/toppings).
- Determine the payment flow: Commit to either Pre-pay (integrated automated dynamic QR payment) or Post-pay (requiring cashier POS approval).
- Produce table collateral: Ensure table assets include: Table QR + High-visibility table number + 3 short instructional steps + Free Wi-Fi access details.
- Run end-to-end integration tests: Use two separate mobile devices (one iOS, one Android) to scan codes from dead-zone corners; verify POS alerts ring and kitchen printers output the correct table identifier.
- Conduct a 15-minute staff briefing: Align staff on greeting scripts and manual menu protocols for guests needing hands-on service.
Comments
No comments yet. Be the first to share your thoughts!